Hey, Siri, let’s start a fire.
Almost immediately after moving into our house, I wanted to get our gas fireplace in HomeKit. We’re heavily invested in HomeKit, and I really wanted the fireplace to (a) turn on and off via HomeKit and (b) have a switch that matched the other HomeKit switches in the house. However, the specifics of doing so were a bit challenging, and it took me an embarrassingly long time to figure out a really pretty simple solution.
The Challenge
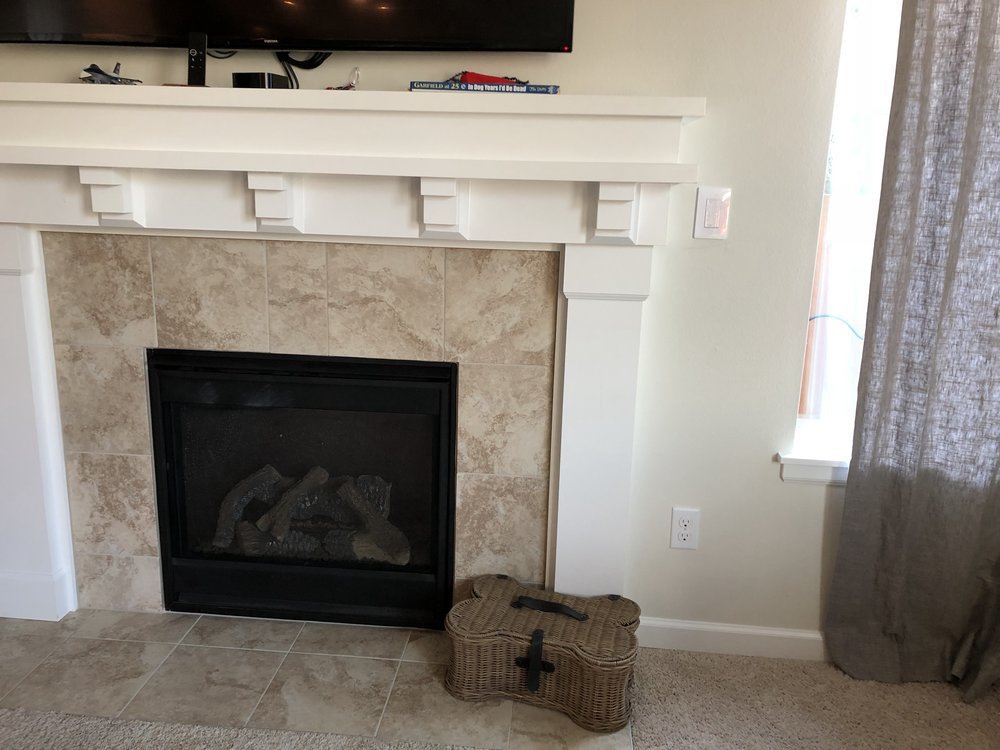
The fireplace is a typical gas fireplace with a switch that connects via low-voltage wiring to an AC powered control unit which lives in an open space under the fireplace. When the switch is in the “on” position, the circuit is closed, and the control unit opens the gas valve and repeatedly fires the starter until the gas ignites. Super simple.
However, HomeKit and other “smart” switches require high-voltage AC to operate, and the control switch doesn’t have AC in the gang box.
The Solution
I spent a year thinking about how to get AC to the gang box without cutting a bunch of drywall, when I realized it wasn’t worth the effort. The obvious thing to do is to use a Lutron Caseta on/off switch, a relay, and a Lutron Pico remote. This meets my needs, since I have Caseta switches throuhout the first floor.
Here’s my hardware list (affiliate links):
- 1 Lutron PD-6ANS Switch
- 1 Lutron Claro Single-Gang Wallplate
- 1 Lutron Non-Dimmer Pico Remote
- 1 Pico Remote Wall-Box Adapter
- 110v Coil, 10A relay
- Thermostat Wire
- 2-gang box
- AC Appliance Cord
- 18/24gauge Male and Female Disconnects (these aren't on Amazon in quantites that aren't nuts; you can find them at your hardware store)
Here’s a diagram of how I wired the switch to the relay. I did all of this on my workbench so I could easily test the relay with my multimeter, and tuck the wire nuts away as best I could. Most relays will have a diagram printed on their housing which shows which pins energize the coil, and which contacts are switched. In my case, 2 and 7 energize the coil, and 1 and 3 or 8 and 6 were switched pairs.
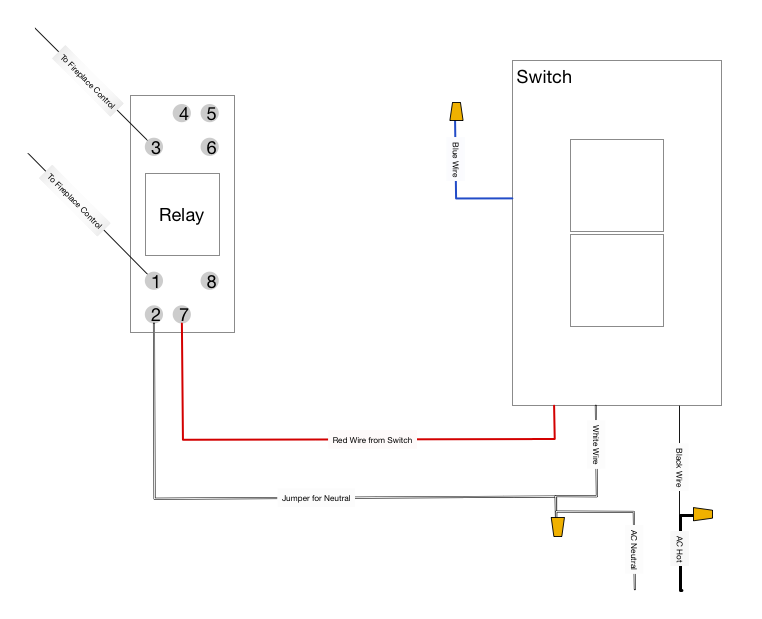
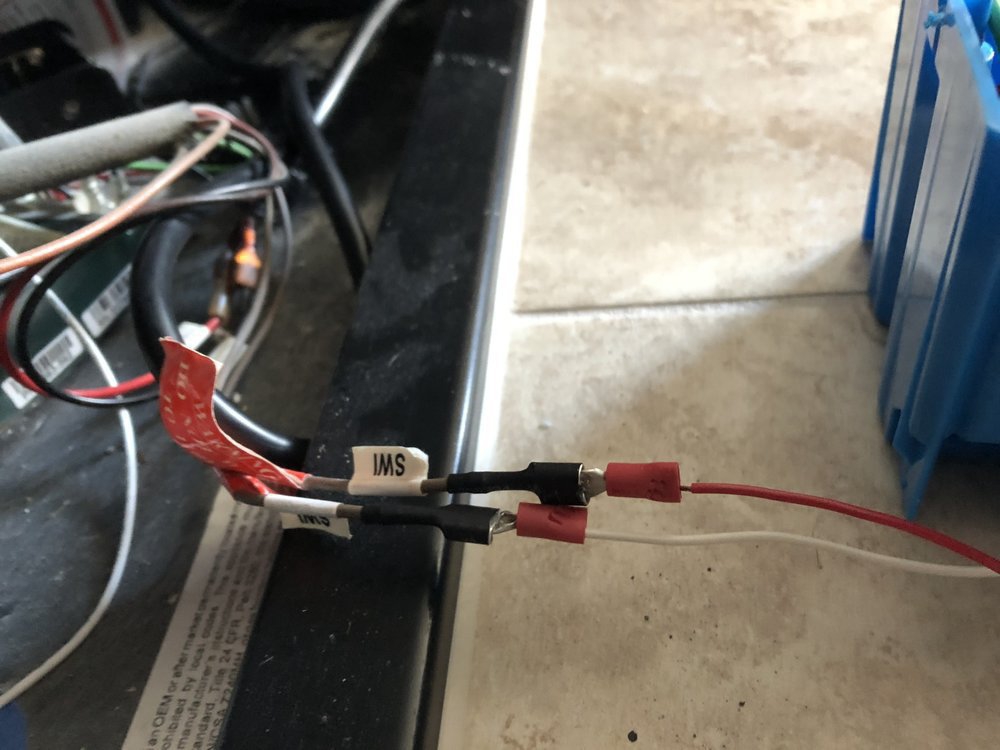
The fireplace control connnected to the low-voltage switch with 18 gauge thermostat wire using quick-disconnects, so I stuck some quick disconnects on the thermostat wires connected to the relay to make installation easier. The switch's black (hot) wire is connected to the black (hot) wire of the AC cord, the switch's switched (red) wire is connected to the relay's coil, so when the switch is switched on, the coil is energized. The neutral wires of the relay, the switch, and the AC cord are all connected to complete the circuit. The low-voltage wires to the fireplace control are connected to two switched contacts of the relay. When the coil is energized, the gate is closed, and the loop is completed, just like flipping the old switch to the "on" position. The switch's blue wire isn't used in this case, and is just wire-nutted in the two-gang box.
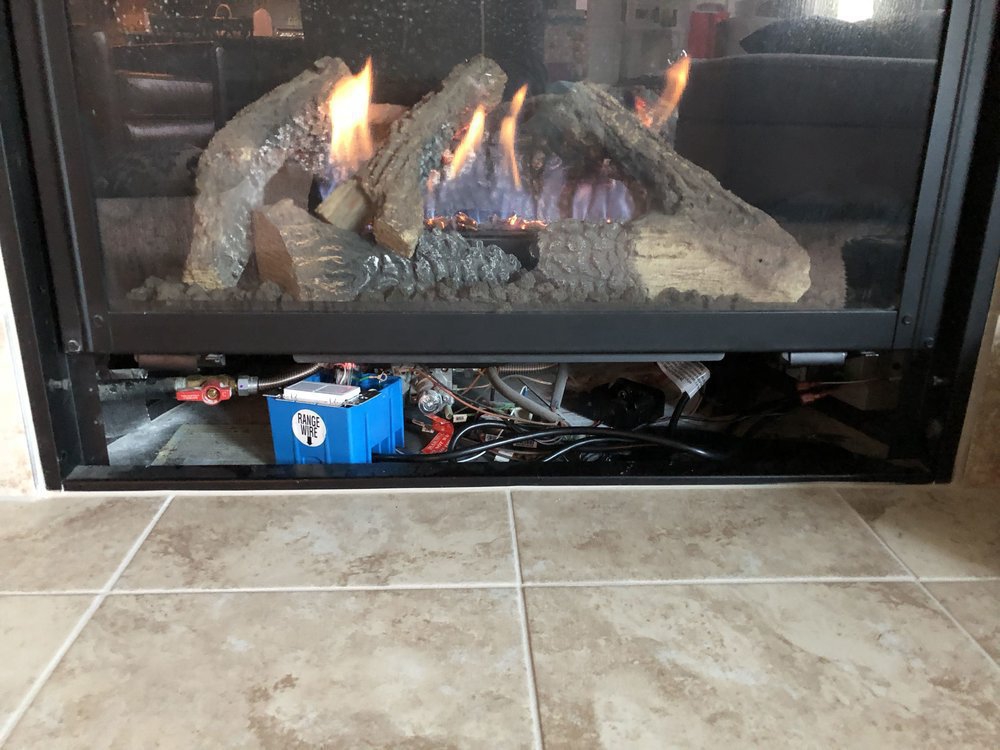
I assmbled all of this in a two-gang box, tested it on my workbench, then moved it under the fireplace. There's an AC outlet under the fireplace which was unused, which was a convenient place to plug in the power cord. I disconnected the low-votage switch with the disconnects under the fireplace, and reconnected the control wires to my thermostat wire coming from the relay using the disconnects that I added.
At this point I could toggle the switch in the gang box and, lo and behold, fire! I replaced the low-voltage switch with the Pico remote. Added the switch and Pico remote to the Lutron app, which in turn adds it to HomeKit, and did some minor tweaks in HomeKit.